Video: How to edit wedding photos in Lightroom-5 easy step Tutorial
Hello everyone, I am Nick, a Melbourne wedding photographer from Tree Studio. Today I’m going to share some useful tips on how to edit wedding photos. Let’s get started.
As you can see, here is the interface of Adobe lightroom classic, and I have picked some photos to show you guys my workflow for editing the photos I took on a wedding day.
After importing the photos into the light room, I would put the preset on them, just simply choose the preset you like and apply it to the photos. Here I choose the preset 1. Please note that do not only rely on the stock setting of a preset, as each photo would have a slightly different setting so you will need to adjust the setting for each photo and figure out the most suitable setting.
You can use copy & paste to copy the setting from one photo to another, or if you want to apply the same setting on more photos, you can select them all, then highlight the photo with the preset then click synchronize, the setting will be applied to all the photos you’ve chosen.
So now you can see all the photos are applied with the preset. Once you start to edit a photo, you need to analyze the key elements of the photo, figure out the subject and know how you want the photo to be presented. Normally those objects in focus are the main thing that the photographer intends to express from a photo.
As you can see here in this photo, the cufflinks are the clearest object in the photo so it would be the subject. After you find out the most important things in a photo, you can then analyze the light and composition, in this photo, the light comes from the left, which gives you an idea that the left side of the photo supposes to be brighter than the right side. So you need to consider this factor when adjusting the exposure. As the cufflinks are the subject, when adjusting the exposure, you need to make sure the brightness of it is correct. By saying correct, it means the exposure of the subject is not being either over-exposure or under-exposure, which won’t make the photo looks too bright or dark.
By changing the exposure, you can see the brightness is changing from dark to bright. What you need to do, as I said before, is to keep the brightness of the subject on a certain level so that the audience can figure out the main thing of the photos straight away when they look at the photo, whatever it is a ring, a bouquet, people’s face or, in here, the cufflinks. So we make sure the cufflinks here are in good exposure so you can easily figure out the letters on them.
An increase in ISO level will generate more noise in the photo.
Normally, we will need to make the photo more vivid by turning up more contrast and vibrance as the raw photos generally look grey and washed-out. When you increase contrast, the middle-to-dark image areas become darker, and the middle-to-light image areas become lighter. The image tones are inversely affected as you decrease contrast. Depending on the style you want for each photo, adjust the contrast level to make the objects separate from each other which shows the depth of the field.
Adjust the highlights and shadows if you feel they are too strong or if you want to show more details of the objects under the dark shadow or strong light. In this photo, try to keep the balance of showing the detail on the black shirt, meanwhile, ensure the Wrinkles on the jacket won’t disappear due to the heavy light.
I won’t adjust the blacks and whites frequently, but if you do want to increase or decrease the portion of white or black in the image you will need to move these two sliders.
Under the presence panel, moving the texture, clarity, and dehaze sliders will affect the texture of the image, adjust them to a certain level as your preference so the photo won’t look foggy or overly clear. For my camera, I prefer to reduce the texture to make the image smoother.
I won’t adjust the tone curve and color grading much and always keep it original.
Under the detail panel, I prefer to increase the de-noise or noise reduction level to reduce the noise of the image. Noise may occur due to the increase in the ISO level, it will reduce the quality and make the photo look grainy. Do not increase the noise reduction level too much, otherwise, the image will lose some texture and detail.
Normally the lightroom will automatically match the lens profile according to the embedded information of the photos to correct the optical distortion and vignetting. Depending on how you want the photo presence, you may manually adjust the level of them. The defringe level can be adjusted under the lens correction panel as well, this can help you get rid of the fringe colors along the edges.
If you want correct those photos that have a distorted vertical or horizontal perspective, you can find the upright option under the transform panel, simply click the auto bottom so Lightroom will adjust the perspective for the image. You may still need to adjust the angle manually, just to make sure the photo looks straight.
Then we can work on color correction, which is the most important part of editing. In general, we only need to adjust the temperature and tint. Increasing the temp will make the image look warm, and decreasing will make it look cold. Move the tint slider to the left to add green to the photo, and move it to the right to add magenta. We will use the principle to adjust the overall color of an image.
Similar to adjusting the brightness, when tuning the color, always refer to the subject of the photo and ensure the color of the main objects is correct. If you have no idea how to set the correct temp and tint, you can always specify a neutral area in the photo by using the white balance selector. You can find the white balance selector on the left to the temp and tint sliders. Move the White Balance Selector into an area of the photo that should be a neutral light gray. In this photo, I chose this part of the jacket as it looks like a neutral area. As you can see, the temp and tint of the image are automatically set to a certain level, and the color of the photo is changed completely. Sometimes the color will be faulty corrected, so try several times until you find the correct or nearly correct white balance level. You may need to twitch the temp and tint manually sometimes as Lightroom may not be able to correct the white balance the way. Especially for those photos taken during sunset time, you may want the image to look warmer in alignment with the ambient sunset environment, so you will need to move the temp slider to the right to add more yellow color.
You can always copy the setting from one photo and paste it to another, but keep in mind that the setting of each photo needed to be adjusted slightly to make sure the exposure and white balance is correct.
If you find you cannot tune out the color you want by barely adjusting the temp and tint, you may need to go to the HSL/Color panel. This part gives you more specific adjustments and the ability to adjust the color. Sometimes the HSL comes with a certain setting when applying a preset, but you can still adjust each color to your preference. For this photo, I don’t really like how the green look, and I want the green to look more warm even slightly yellow, so I can adjust the hue of green and move it to the left, which is the yellow. Apart from that, I decrease the saturation and luminance of green so the green color in the image won’t be obvious as it is not the main thing I want to present to the audience and I actually want it to be less recognized.
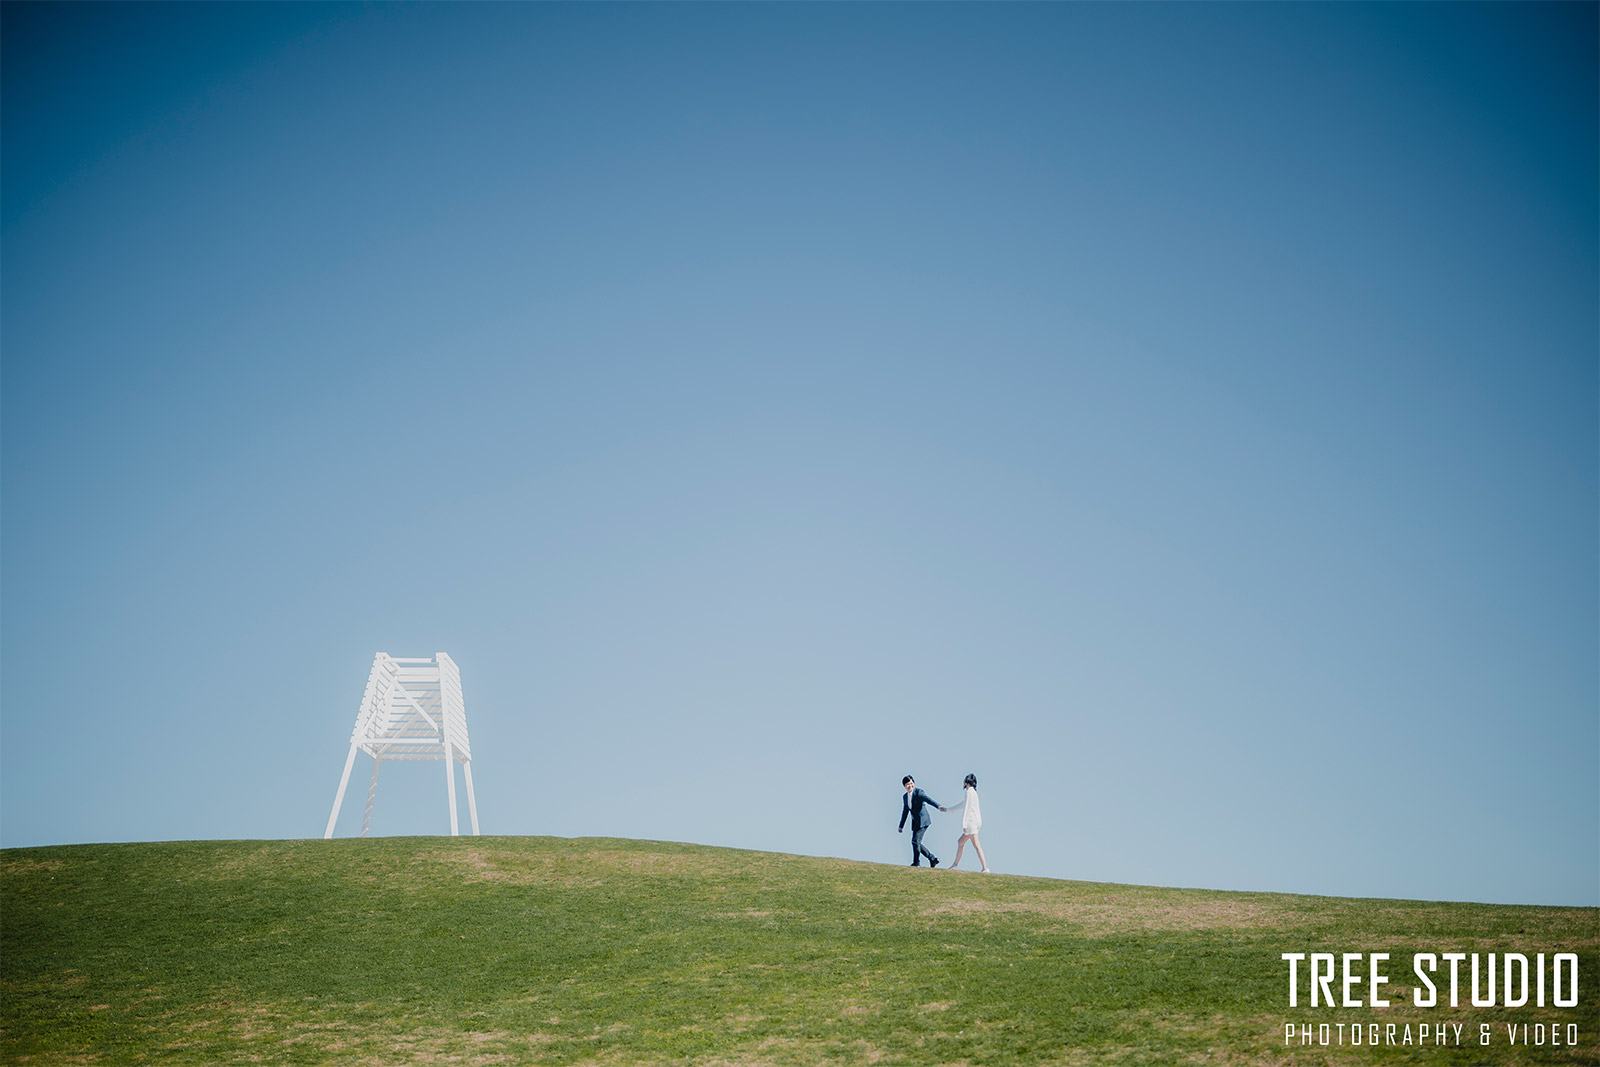
You can also use the spot removal tool to remove something you don’t want to be in the photo. For example, you can find there are two people to the right of the white tower in this image, to remove them, simply click spot removal, and you can adjust the size of the tool radius size by scrolling the mouse wheel. After finding the desired radius size, select the area you want to remove and the light room will automatically remove the objects within that area. Sometimes you will need to adjust the sampled area to make the healing area more natural.
In summary, to edit your wedding photos, import them to Lightroom and apply a preset for them, always remember to analyze them before you start working, then figure out the subject of the image which will be the reference when adjusting the exposure and white balance of the photo. Correct the exposure and white balance of the image, then depending on the style of the photos, you can adjust the other setting so the photos match your preference.
If you want to learn more information about wedding photography editing, you can contact us.


